


Introduction:
All of us at some part of our software development journey has most likely heard of Vim.
Vim is a highly configurable text editor built to make creating and changing any kind of text very efficient. It is included as "vi" with most UNIX systems and with Apple OS X.
Vim is rock stable and is continuously being developed to become even better. Among its features are: persistent, multi-level undo tree extensive plugin system support for hundreds of programming languages and file formats powerful search and replace integrates with many tools
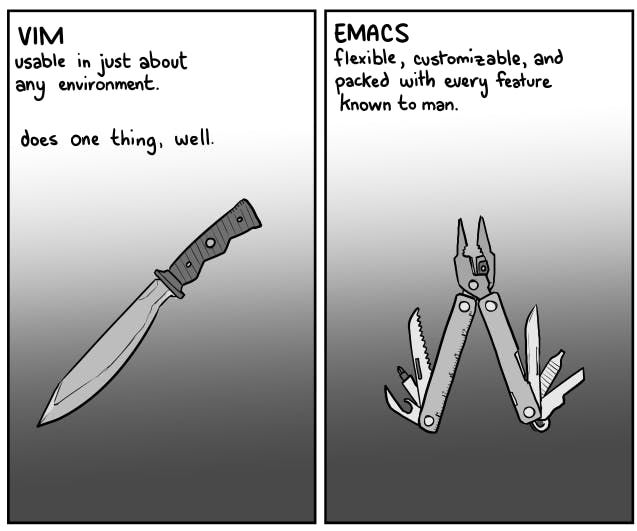
Vim is an old school, too linux way editor, and it takes a bit of effort to do all the customizations. This is where SpaceVim steps in, it makes things way easier for the user.
SpaceVim is a distribution of the Vim editor that’s inspired by spacemacs. It manages collections of plugins in layers, which help collect related packages together to provide features. This approach helps keep configuration organized and reduces overhead for the user by keeping them from having to think about what packages to install.

What is SpaceVim?
SpaceVim is .vim in your home directory, this is the simplest explanation of SpaceVim. In general, vim will try to find ~/.vimrc in your home directory. If there is no such file. vim will use ~/.vim/vimrc as the init file.
This is how and why SpaceVim can be loaded. If you create a ~/.vimrc in your home directory, SpaceVim will not be loaded automatically.
Difference between SpaceVim and Vim
 SpaceVim use layers to manager plugins and config. Users do not need to searching for plugins, also do not need to config them. For example, if you are a golang developer, and want to use use SpaceVim as a simple GO ide. You just need to install SpaceVim, and enable
 lang#go layer. All plugins will be downloaded automatically.
Why use Vim or specifically SpaceVim?
VIM is from the era when text mode was the norm, GUI wasn't present and having a mouse was a novelty. Developers at that time didn't have any interest in mimicking GUI in text mode. nor there were any frameworks to do so. the computer wasn't common and the only users were either programmers or mathematicians.
To create a program for such an audience in that era would result in what you see as VIM or similar. a blank screen with convoluted and absurd shortcut keys (to quit VI you press :q )
so the VIM creators designed the app for their target audience according to what was then available- a large blank screen as the work area and various key combinations to invoke some functionality. No menus, no buttons, no progress bars etc.
My personal experience with Vim:
It was problematic at first but within a day or two when I got hold of various key combinations and installed various plugins, I was able to code pretty quickly as no cursor was needed it was just a keyboard.
Installation
Prerequisites
- You need to install Vim with Python support (click here for the installation steps)
- You need to have git and curl installed in your system, which are needed for downloading plugins and fonts.
Installing SpaceVim:
Configuration
The default configuration file of SpaceVim is ~/.SpaceVim.d/init.toml. Users can edit this file to change the configs.
Here is my ~/.SpaceVim.d/init.toml :)
[options]
    # set spacevim theme. by default colorscheme layer is not loaded,
    # if you want to use more colorscheme, please load the colorscheme
    # layer
    colorscheme = "onedark"
    colorscheme_bg = "dark"
    # Disable guicolors in basic mode, many terminal do not support 24bit
    # true colors
    enable_guicolors = true
    # Disable statusline separator, if you want to use other value, please
    # install nerd fonts
    statusline_separator = "arrow"
    statusline_iseparator = "arrow"
    buffer_index_type = 4
    enable_tabline_filetype_icon = true
    enable_statusline_mode = false
    file_searching_tools = ['find', 'find -not -iwholename "*.git*" ']
# Enable autocomplete layer
[[layers]]
name = 'autocomplete'
auto_completion_return_key_behavior = "complete"
auto_completion_tab_key_behavior = "smart"

[[layers]]
name = 'shell'
default_position = 'top'
default_height = 30

[[layers]]
  name = "ui"
  enable_scrollbar = true

[[layers]]
  name = "colorscheme"

[[layers]]
  name = "lang#kotlin"

[[layers]]
  name = "lang#typescript"

[[layers]]
    name = 'lang#c'
    enable_clang_syntax_highlight = true

[[layers]]
  name = "lang#javascript"

[[layers]]
  name = "lang#go"

[[layers]]
  name = "lang#python"

[[layers]]
name = "default"
Important shortcuts
For those who are new to vim, visit devhints.io/vim to learn basic vim commands.
There are different kinds of shortcuts, start with different prefix:
| Prefix | Prefix name | Example | Description | More info |
space | [SPC] | spc f t | open/close filetree | just press space key and wait 1s |
s | [WIN] | s v | split window, equal to :split | link |
\ | <Leader> | \ [0-9] | jump to other tab or buffer | just press \ key and wait 1s |
g | go to | g 0 | go to first tab | link |
z | fold | z a | toggle a fold | link |
Most frequently used shortcuts :
| Shortcuts | Description |
| Basic | |
h j k l | move around |
spc | wait 1 second to get hint for more shortcuts |
<F3> / spc f t | trigger file tree |
spc t t | Open tab manager |
F2 | Open tagbar |
<Leader> [1-9] | switch to different tabs or buffers |
spc [1-9] | switch to different windows |
ctrl j/h/k/l | switch to different windows |
| Filetree | Link |
spc f o | open file tree and locate to current directory |
s g | open file and split window horizontally |
s v | open file split window vertically |
| Comment code | Link |
spc c l | comment/uncomment current line |
spc c p/P | comment/uncomment current paragraph |
spc ; [num] j | comment num lines |
| Tab Manager | Link |
spc w F | open a new tab, equal to spc t t + n |
spc w o | switch tab |
| Display | Link |
spc s c | clear search highlight |
SPC t 8 | highlight any character past the 80th column |
SPC t h h | toggle highlight of the current line |
SPC t h c | toggle highlight indentation current column |
| Search | Link |
spc s s | Searching in current file |
spc s d | Searching in current directory |
spc s b | Searching in all loaded buffers |
spc s p | Searching in current proj, equal to spc / |
| Useful shortcuts | Link |
[ spc | insert space above |
] spc | insert space below |
IDE shortcuts:
| Shortcuts | Description |
g d | Go to function definition |
spc b f | format code according to pep8 standard |
spc l g d | generate docstring |
spc l r | run code (for any language be it python or c) |
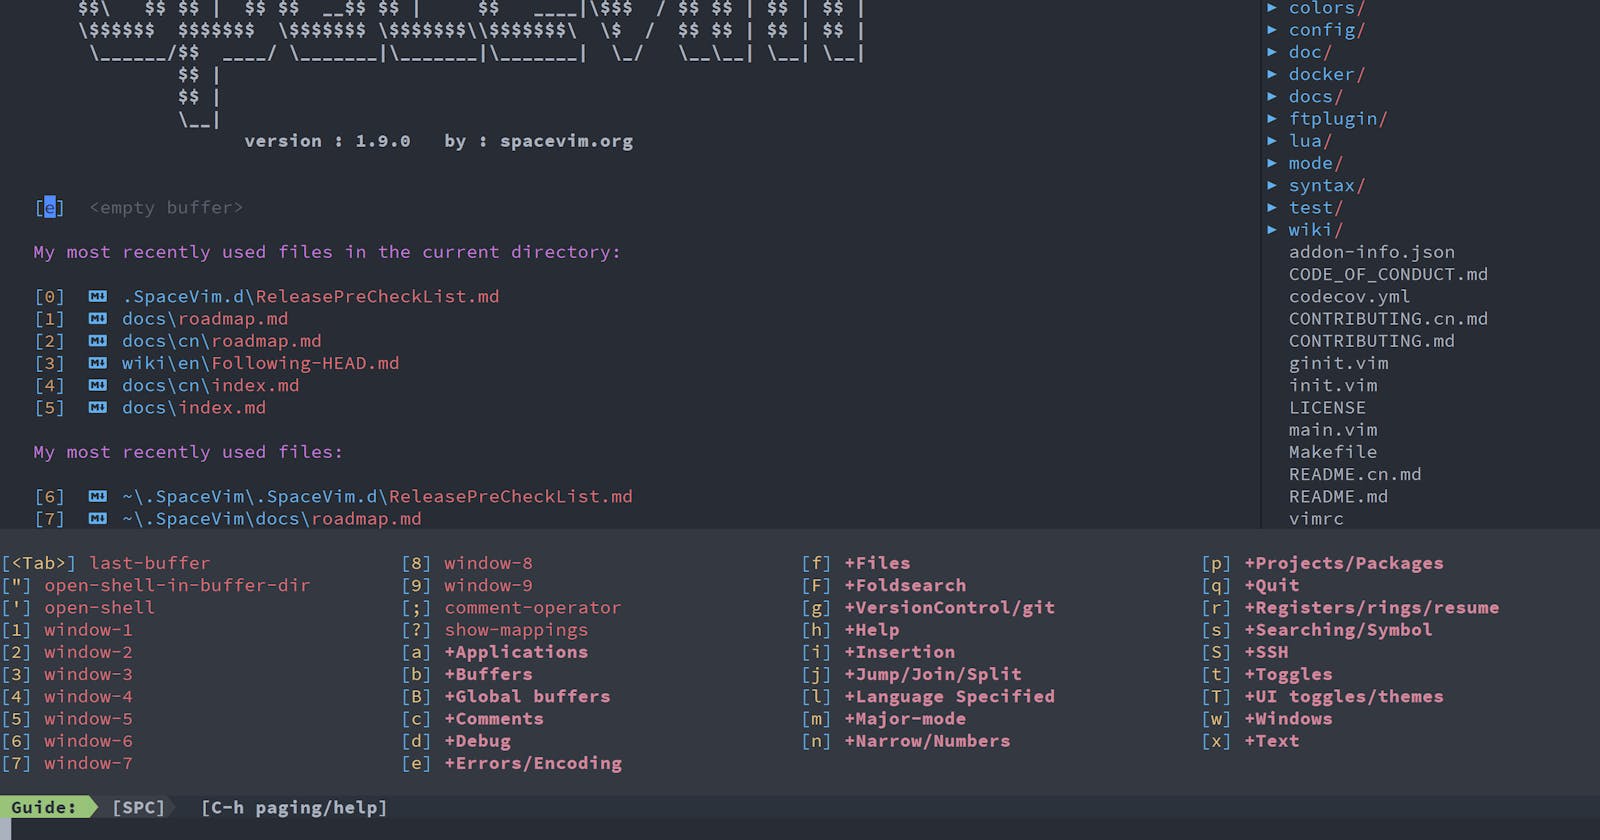
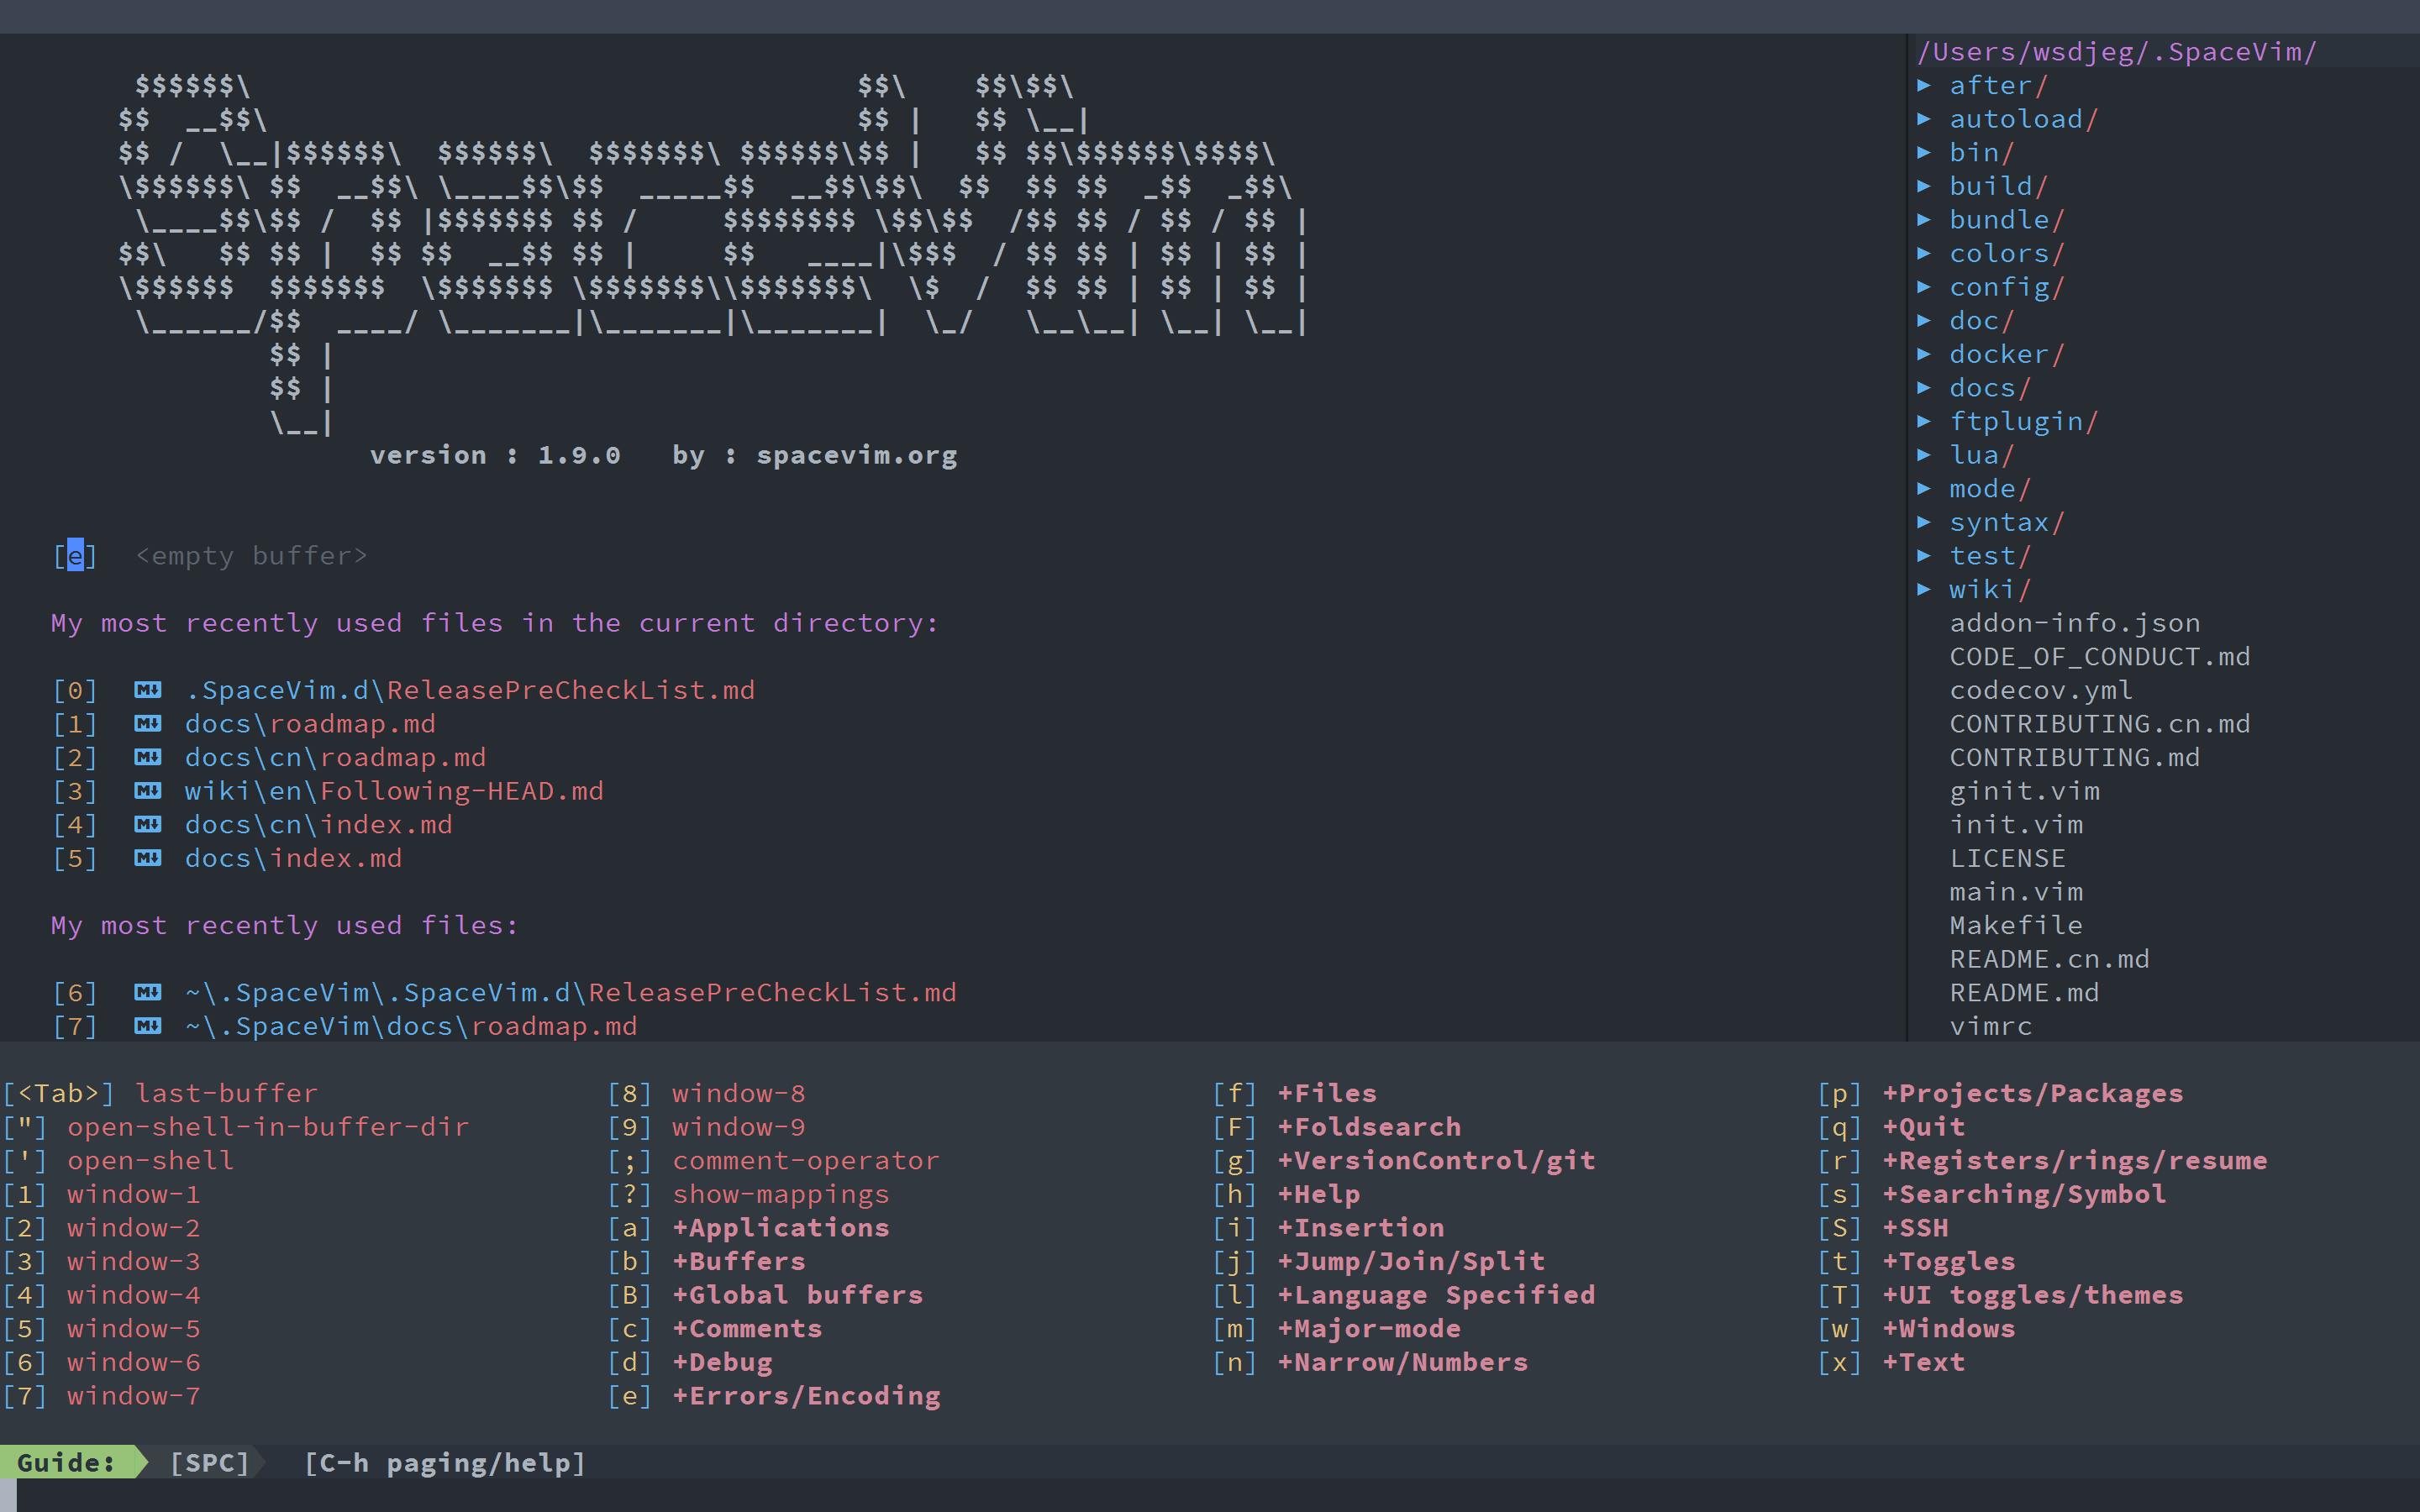
Note: These are the shortcuts that I use the most there are many more that you might use. You can explore them by pressing
space-barin the spacevim, wait a sec and you'll see a window which contains all kinds of shortcuts.github.com/Jackiexiao/10-minutes-to-SpaceVi.. will give you a good idea about all the shortcuts do visit it :)
Customizing SpaceVim to adapt as IDE for different languages
The trick is simple you just need to add a layer in ~/.SpaceVim.d/init.tomlof that particular language. For example if I want to use SpaceVim for python I'll add:
[[layers]]
  name = "lang#python"
Similarly for other languages they have different layers visit their guide of programming language support (click here) for more details.
Conclusion:
Thank you for reading, hope you enjoyed the article! Queries and feedback are most welcome :) kindly leave them below.
Follow me on Twitter | LinkedIn for more web development-related tips and posts.
That's all for today! You have read the article till the end.